
How Do You Build a Complete 1913 Rear System?
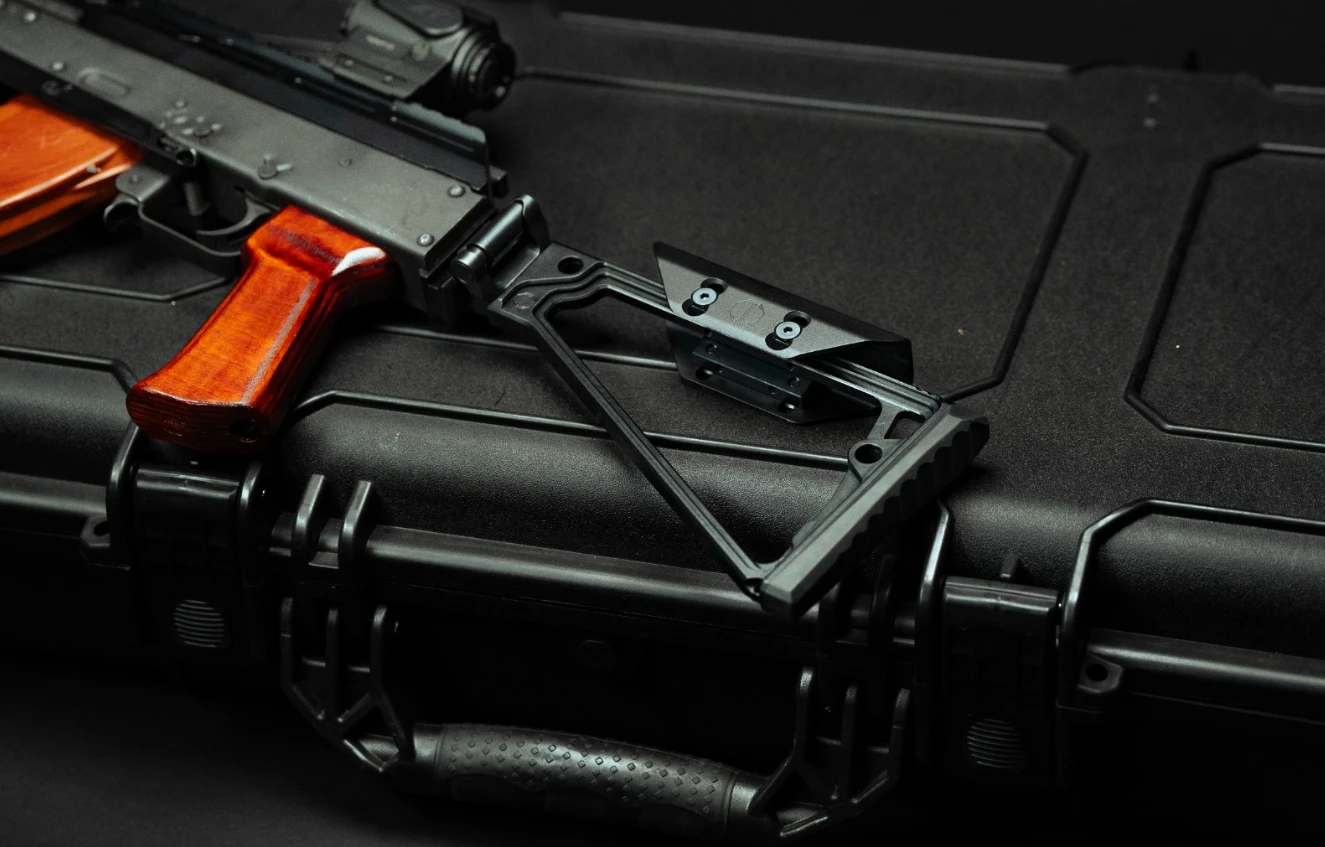
When fully assembled, a firearm’s rear setup looks straightforward. Before installation, however, it is a carefully matched chain of precision interfaces. The receiver must accept the adapter, the adapter must provide the correct attachment surface, the folding mechanism must match that surface, and the stock or Arm Bar must fit both the mechanism and your preferred length of pull.
The cleanest way to build a modular rear system is to work from your firearm outward. Choosing a stock first simply because it looks good is the fastest way to miss the exact host-specific adapter required to make the build possible.
Here is how to plan and select components for a seamless 1913 rear assembly.
Step 1: Identify the Exact Rear Interface of Your Host Firearm
Model names alone do not tell the whole story. Before purchasing components, inspect your firearm's rear geometry and confirm whether it features:
- A fixed-stock rear trunnion
- A factory folding trunnion
- A smooth rear end cap
- An existing 1913 Picatinny rail section
- A proprietary attachment interface
Important fitment notes:
- Prior modifications: Ensure previous aftermarket changes have not altered your receiver line.
- AK patterns: Stamped AKM, milled AK, Zastava/Yugo, Draco, Krink, and factory-folding rear patterns are not interchangeable.
- MP5 patterns: Full-size and K-pattern hosts often require distinct rear adapters, and clone fitment should always be verified rather than assumed.
Step 2: Select Your Host-Specific Adapter
The adapter bridges the gap between your receiver's native pattern and your new rear system. On most JMac Customs builds, this adapter converts your receiver line into a rock-solid 1913 Picatinny rail section.
Host-specific options (such as the RSA-MP5 or RSA-MP5K) exist because receiver dimensions vary across manufacturers and patterns. Always match the adapter SKU to your exact firearm on the product page. Avoid substituting "similar-looking" parts or assuming a platform family name covers every clone.
Note on modifications: If an adapter calls for permanent host modification (such as drilling or trimming), evaluate whether you have the proper tools before ordering, or plan to have a qualified gunsmith perform the installation.
Step 3: Add a Folding Mechanism (If Applicable)
Once your host has a verified 1913 interface, the folding mechanism acts as the hinge between the firearm and your stock or brace furniture. When selecting a folding mechanism, verify:
- Clearance & Controls: Ensure the folded assembly will not block the charging handle, ejection port, or safety controls.
- Fold Direction & Latch Behavior: Confirm whether a left-folding or right-folding setup suits your sling and transport preferences.
- Stock Line Height: Choose between a straight or raised stock line. Optic height and cheek weld position play a larger role in performance than color or profile.
Step 4: Choose Your Stock or Arm Bar
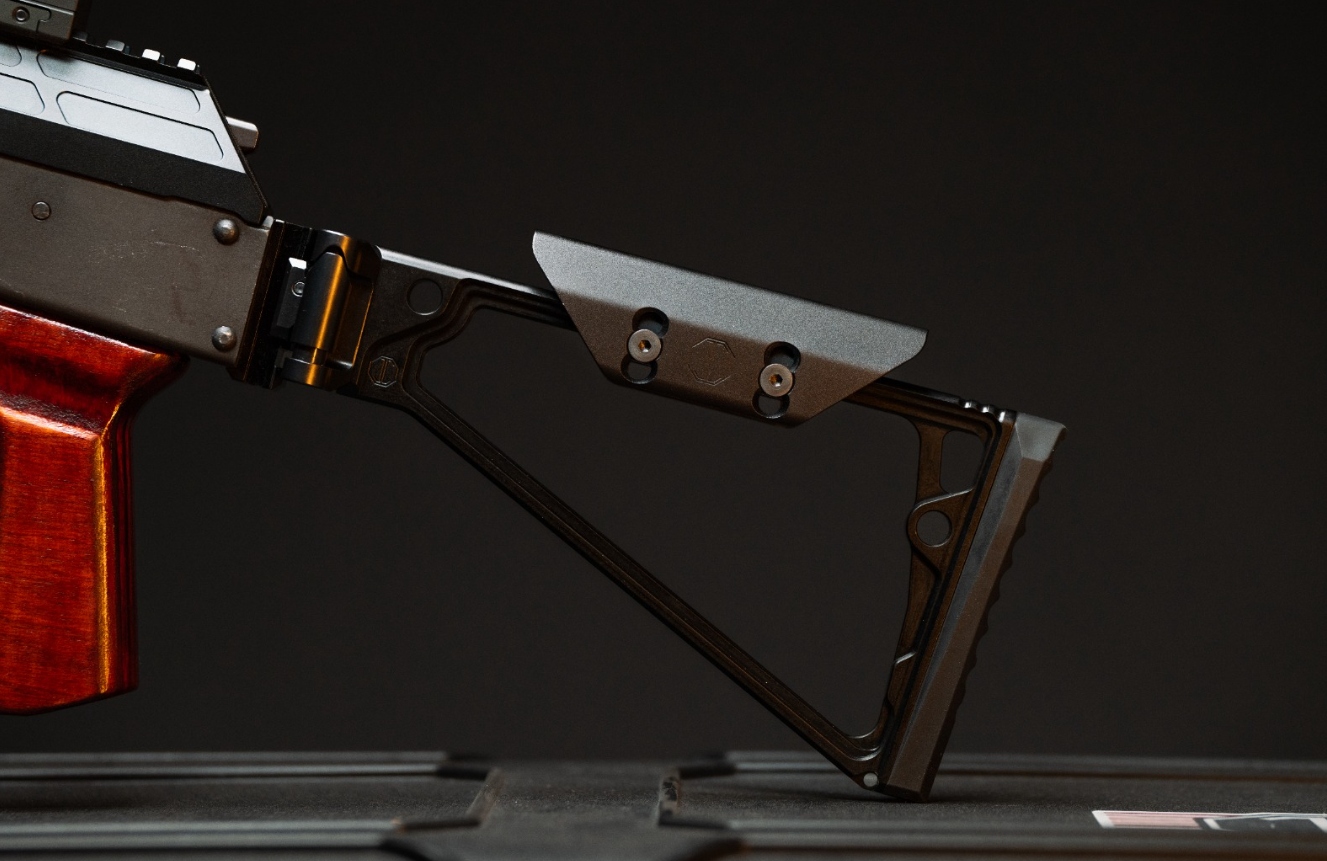
With your adapter and hinge interface locked down, select the stock or Arm Bar that completes your setup. Consider your desired length of pull (LOP), rise, cheek weld, and butt-pad configuration.
Options like JMac Arm Bars, skeletonized stocks, and triangle-style stocks offer distinct weight distribution and contact points, but their performance depends entirely on the adapter and mechanism selected in earlier steps.
Bench Tip: Stage your complete component chain on the workbench before final installation. Verify all hardware, thread engagement, and clearances. When fully assembled, the system should lock up tightly, fold cleanly, and naturally align your sight line with your optic.
Common 1913 Rear System Mistakes to Avoid
- Selecting furniture first: Always work from the receiver outward to ensure complete compatibility.
- Confusing receiver patterns: Never assume all AK or MP5 variants share identical trunnion or end-cap specs.
- Overlooking folding mechanisms: Make sure your chosen stock pairs directly with 1913 rails or includes an integrated hinge interface.
- Ignoring installation requirements: Always check product pages beforehand to see if permanent modifications or specialized tools are required.
Pre-Checkout Checklist
Before completing your order, confirm:
- Firearm & Rear Pattern: Verified exact host geometry.
- Adapter SKU: Confirmed compatibility on the product page.
- Interface Matching: Adapter output matches your folding mechanism or stock connection.
- Ergonomics & Clearance: Length of pull, cheek rise, optic height, and control clearances checked.
- Hardware & Stock: All required hardware and dependent parts are in stock and ready to assemble.
Build Your Rear System with Confidence
Build your modular setup in the correct order: Host → Adapter → Interface → Folding Mechanism → Furniture.
Ready to customize your firearm? Browse JMac Customs rear adapters, stock systems, and 1913 accessories to find the exact parts for your build.
Explore Popular Articles
How Do You Build a Complete 1913 Rear System?
When fully assembled, a firearm’s rear setup looks straightforward. Before installation, however, it...
What Is the Difference Between 24x1.5 RH and 26x1.5 LH AK Mounts?
The difference is more than two millimeters and a thread direction. The 24x1.5 RH and 26x1.5 LH patt...
HUB vs Taper vs KeyMount: Which Muzzle Device Path Do You Need?
HUB, taper, and KeyMount are not three names for the same connection. They describe different suppre...
What Fits a 14x1 LH AK Muzzle?
The short answer is that many standard AKM-pattern rifles, including a typical WASR-10, use 14x1 lef...